Perhaps you may need to create a new workbook in an automated way. For example, you may want to copy data from a table and paste it into a newly created workbook. The below macro copies a range of cells from the active sheet and pastes the data into a new workbook.
Creating a New Workbook
This macro is relatively intuitive as you read through the lines of the code.
'------------------ Modules------------------
Sub CreateWorkbook()
    'Step 1 Copy the data
    'You will probably need to change the sheet name, and the range address
    Sheets("Sheet1").Range("A1:E10").Copy

    'Step 2 Create a new workbook
    Workbooks.Add

    'Step 3 Paste the data
    'You will probably need to change the target range address
    ActiveSheet.Paste Destination:=Range("A1")

    'Step 4 Turn off application alerts
    Application.DisplayAlerts = False

    'Step 5 Save the newly created workbook
    'You will probably need to change the the save location.
    ActiveWorkbook.SaveAs Filename:="D:\Temp\MyNewWorkBook.xlsx"

    'Step 6 Turn application alerts back on
    Application.DisplayAlerts = True
End Sub
How This Macro Works
- In Step 1, we simply copy the data that ranges from cells A1 to E10.The thing to note here is that you are specifying both the sheet and the range by name.This is a best practice when you are working with multiple workbooks open at one time.
- We are using the Add method of the Workbooks object to create a new workbook. This is equivalent to manually clicking File -> New -> Blank Document in the Excel Ribbon.
- In this step, you use the Paste method to send the data you copied to cell A1 of the new workbook.Pay attention to the fact that the code refers to the ActiveSheet object. When you add a workbook, the new workbook immediately gains focus, becoming the active workbook. This is the same behavior you would see if you were to add a workbook manually.
- In Step 4 of the code, we set the DisplayAlerts method to False, effectively turning off Excel’s warnings. We do this because in the next step of the code, we save the newly created workbook. We may run this macro multiple times, in which case Excel attempts to save the file multiple times.What happens when you try to save a workbook multiple times? That’s right — Excel warns you that there is already a file out there with that name and then asks if you want to over-write the previously existing file. Because your goal is to automate the creation of the new workbook, you want to suppress that warning.
- In Step 5, we save the file by using the SaveAs method. Note that we are entering the full path of the save location, including the final filename.
- Because we turned application alters off in Step 4, we need to turn them back on. If we don’t, Excel continues to suppress all warnings for the life of the current session.
How to Use This Macro
Most VBA code should be placed in Standard Modules unless specified.
If you see a comment '------------------ Modules------------------ in the code header that means put the code in a Standard Module. For more information, learn this course: Where should I put the Excel VBA code?
The following steps teach you how to put VBA code into a Standard Module:
- Activate the Visual Basic Editor by pressing ALT + F11.
- Right-click the project/workbook name in the Project Window.
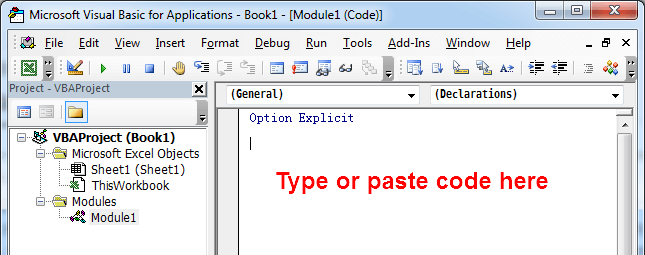
- Choose Insert -> Module.

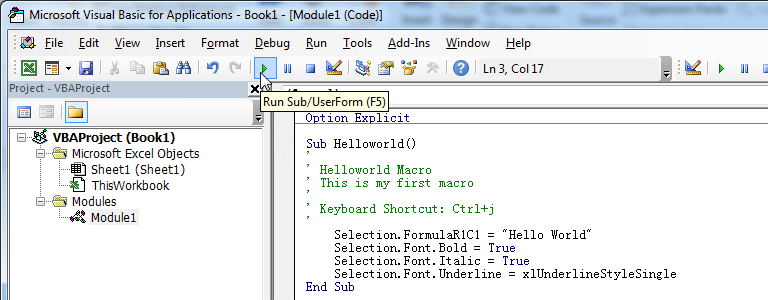
- Type or paste the code in the newly created module. You will probably need to change the sheet name, the range address, and the save location.
- Click Run button on the Visual Basic Editor toolbar.
- For more information, learn this course: Programming with Excel VBA