When you create a PivotTable, Excel prefixes the title of each data field with Sum of, Count of. If you want the headers to be clean and match your data source as closely as possible, you can manually adjust the titles of your pivot data fields, but this macro does it all at once.
Adjust All Pivot Data Field Titles
Sub AdjustPivotFieldTitles()
'Step 1: Declare your Variables
    Dim pt As PivotTable
    Dim pf As PivotField
'Step 2: Point to the PivotTable in the active cell
    On Error Resume Next
    Set pt = ActiveSheet.PivotTables(ActiveCell.PivotTable.Name)
'Step 3: Exit if active cell is not in a PivotTable
    If pt Is Nothing Then
        MsgBox "You must place your cursor inside of a PivotTable."
        Exit Sub
    End If
'Step 4: Loop through all pivot fields adjust titles
    For Each pf In pt.DataFields
        pf.Caption = pf.SourceName & Chr(32)
    Next pf
End Sub
How This Macro Works
Excel PivotTables does not allow you to name the data field exactly the same as the name of the source data field. The solution to this problem is to add a space after the field name. Excel thinks the field name (with a space) is different from the source data field name, so it allows this. From the looks of it, readers of your spreadsheet won't notice the space after the name.
1. Step 1 declares two object variables. This macro uses pt as the memory container for the PivotTable and uses pf as a memory container for the pivot fields. This allows us to loop through all the pivot fields in the PivotTable.
2. This macro can be run only when the cursor is inside a specific PivotTable.
Step 2 sets the pt variable to the name of the PivotTable on which the active cell is found. We do this by using the ActiveCell.PivotTable.Name property to get the name of the target pivot.
If the active cell is not inside of a PivotTable, an error is thrown. This is why the macro uses the On Error Resume Next statement. This tells Excel to continue with the macro if there is an error.
3. Step 3 checks to whether the pt variable is filled with a PivotTable object. If the pt variable is set to Nothing, the active cell was not on a PivotTable, thus no PivotTable could be assigned to the variable. If this is the case, we tell the user in a message box, and then we exit the procedure.
4. Step 4 uses For Each...Next statement to loops through all the fields in the PivotTable. Each time a new pivot field is selected, the macro changes the field name by setting the Caption property to match the field’s SourceName. To that name, the macro concatenates a space character: Chr(32). After the name has been changed, the macro moves to the next data field. After all the data fields have been evaluated, the macro ends.
How to Use This Macro
Most VBA code should be placed in Standard Modules unless specified.
If you see a comment '------------------ Modules------------------ in the code header that means put the code in a Standard Module. For more information, learn this course: Where should I put the Excel VBA code?
The following steps teach you how to put VBA code into a Standard Module:
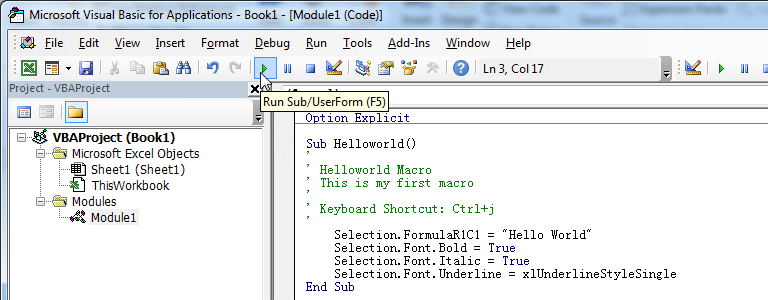
- Activate the Visual Basic Editor by pressing ALT + F11.
- Right-click the project/workbook name in the Project Window.
- Choose Insert -> Module.

- Type or paste the code in the newly created module. You will probably need to change the sheet name, the range address, and the save location.
- Click Run button on the Visual Basic Editor toolbar.
- For more information, learn this course: Programming with Excel VBA