Suppose your customer sends you a price list with many product pictures, how to quickly export these pictures and name them? Of course you can use this trick to export the pictures and name them manually, but this macro does it all at once.
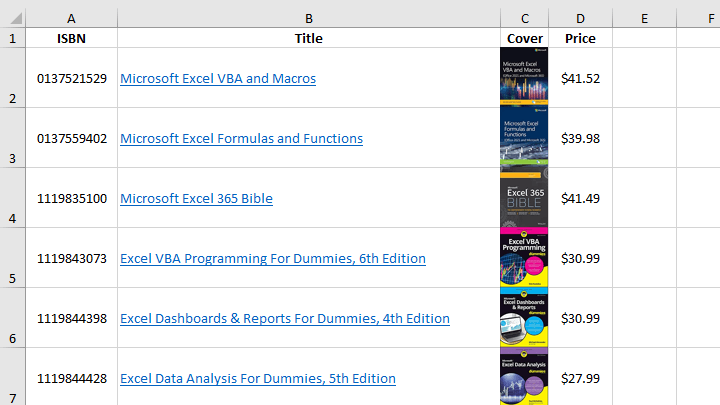
The price list:
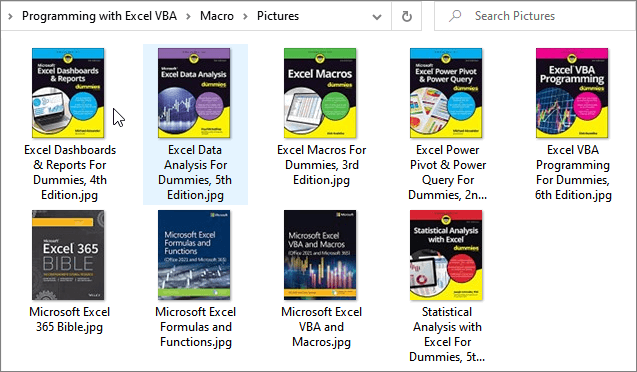
Export all pictures and rename:
Export All Pictures and Rename
Sub ExportAllPictures()

    Dim iPicWidth As Integer
    Dim iPicHeight As Integer
    Dim pic As Shape
    Dim sPicName As String
    Dim iPicRow As Integer

    Application.ScreenUpdating = False  'Turn off screen updates to make this macro run faster

    On Error Resume Next

    MkDir ThisWorkbook.Path & "\Pictures"   'Create a folder

    For Each pic In ActiveSheet.Shapes  'Loop through each shape in the active worksheet.

        If pic.Type = msoAutoShape Or pic.Type = msoPicture Then    'shape type: AutoShape or Picture

            iPicRow = pic.TopLeftCell.Row  'Picture row
            ''Please make sure the picture name is legal
            sPicName = ActiveSheet.Cells(iPicRow, 2) 'Picture name, 2 means in column B

            If sPicName <> "" Then 'Check if the picture name exists

                iPicWidth = pic.Width   'original picture width
                iPicHeight = pic.Height 'original picture height

                ''You can set the exported image size according to your needs
                pic.LockAspectRatio = msoTrue  'Lock Aspect Ratio
                pic.ScaleHeight 1.5, msoFalse, msoScaleFromTopLeft  'Exported image size. Scale 150%.

                ''Or you can specify the exported image size
                'pic.Width = 400  'Set width 400px
                'pic.Height = 400 'Set height 400px

                pic.Copy    'Copy to clipboard

                With ActiveSheet.ChartObjects.Add(0, 0, pic.Width, pic.Height).Chart 'Create a embedded chart
                    .Parent.Select  'Select chart
                    .Paste  'Paste
                    .Export ThisWorkbook.Path & "\Pictures\" & sPicName & ".jpg"    'Export picture
                    .Parent.Delete  'Delete chart
                End With

                pic.Width = iPicWidth 'Rest picture to default size
                pic.Height = iPicHeight 'Rest picture to default size

            End If
        End If

    Next

    MsgBox "All pictures are exported!"

    Application.ScreenUpdating = True
End Sub
How This Macro Works
1. Create a folder to store pictures.
2. Loop through all shapes.
3. Determine shape type. If you need more types, read: MsoAutoShapeType.
4. Check if the picture name exists.
In this example, the picture name is in column B, if your picture name is in column C or other, please change sPicName = ActiveSheet.Cells(iPicRow, 2) to sPicName = ActiveSheet.Cells(iPicRow, 3)
5. Set the exported image size according to your needs.
6. Call the Copy method of the Shape object to copy it to the clipboard.
7. Use chartobjects add method to add a embedded chart.
8. Paste the picture from the clipboard.
9. Export picture.
Example download
Download Macro: Export All Pictures and Rename.
Maybe you need this macro: Bulk Insert Pictures in Cells and Resize Them.
How to Use This Macro
Most VBA code should be placed in Standard Modules unless specified.
If you see a comment '------------------ Modules------------------ in the code header that means put the code in a Standard Module. For more information, learn this course: Where should I put the Excel VBA code?
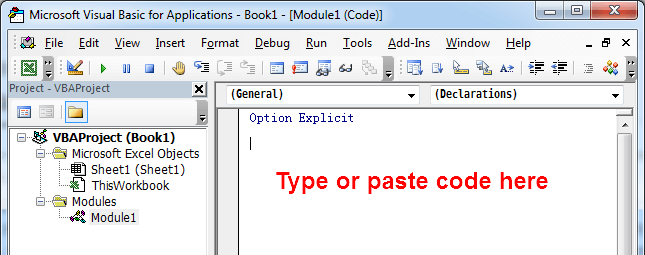
The following steps teach you how to put VBA code into a Standard Module:
- Activate the Visual Basic Editor by pressing ALT + F11.
- Right-click the project/workbook name in the Project Window.
- Choose Insert -> Module.

- Type or paste the code in the newly created module. You will probably need to change the sheet name, the range address, and the save location.
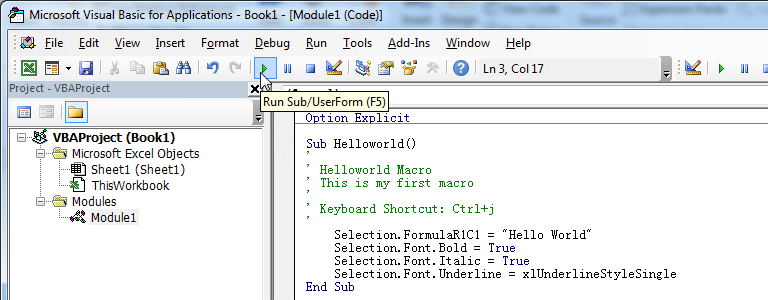
- Click Run button on the Visual Basic Editor toolbar.
- For more information, learn this course: Programming with Excel VBA